Planting a California Native in 10 Easy Steps
Please note: This planting protocol is based on numerous sources, but is ultimately the result of our own experience at the LANPS garden. It isn’t by any means the only way to plant California native plants successfully. Given each individual garden’s variables in terms of microclimate, soil type and topography, we believe that trial and error is the best teacher. Please consider the following, then, as a point of departure.
- Dig a hole roughly twice the diameter of the pot and about 6–8″ deeper.
- Using the point of a hand trowel or similar garden tool, make little, random “pockmarks” on the inside surface of the hole, covering the entire bottom circumference and side walls. Pay particular attention to the “seam” where the side walls and bottom of your hole meet. This will encourage the plant’s roots, limited to the size and shape of the pot up to this point, to branch out into the surrounding soil.
- Completely fill the hole with water and allow to soak in completely. In the early fall, after the long drought of summer when the soil tends to be particularly dry, you can repeat this step a second time.
- Mound some of the fill dirt at the bottom of the hole, compacting lightly, so that when you place the pot in the hole, the crown of the plant (where the plant emerges from the top of the soil in the pot) is slightly above the surrounding grade (around a half-inch or so). If the fill dirt is completely dry when you’re planting, fill the hole about halfway with water and allow to soak in completely before proceeding to step 5. Repeat if the soil is still dry underneath the surface of your fill dirt when you poke your finger in to check
- Un-pot the plant by turning upside down and lightly tapping on the bottom of the pot. Never forcibly pull the plant out of the pot.
- Unless it’s a species you know resents having its roots disturbed, gently “tickle” the sides and bottom of the root ball using your fingernails or a very thin twig. This roughening of the rootball will encourage the roots to spread out beyond the planting hole.
- Place the plant in the hole, re-checking that the level of the crown is still a little above the surrounding grade. Add or subtract fill dirt under the root ball as necessary to get the right level. With the plant in place, fill the hole around the root ball about half-way its height with fill dirt, again compacting lightly. Fill the hole with water again and allow to soak in completely.
- Fill the remaining half of the planting hole with fill dirt. Make a low berm around the plant with remaining soil to create a watering basin, a little wider than the circumference of the original hole. This is especially important if you are planting on sloping ground. Grade the soil so that the root crown is at the apex, or highest point at the center of the berm. Fill the basin with water 1–2 times, allowing it to soak in completely each time.
- You can add a layer of mulch around the berm to keep the roots cool and conserve moisture, but don’t allow the mulch to pile up against the root crown where it emerges from the potting soil. Do not top-dress with either soil amendment or fertilizer.
- Deep water when the root ball is dry 2–3″ down for the first year, less (or not at all) if there are winter rains. Each time you water, fill the basin completely, allow to soak in, repeating 2–3 times. Ideally you want the moisture to percolate to around 16–18″ below the surface of the soil. The root ball tends to dry out more quickly than the surrounding soil, so check regularly. (A simple soil moisture probe can be helpful.)
Tomorrow’s Oaks Today
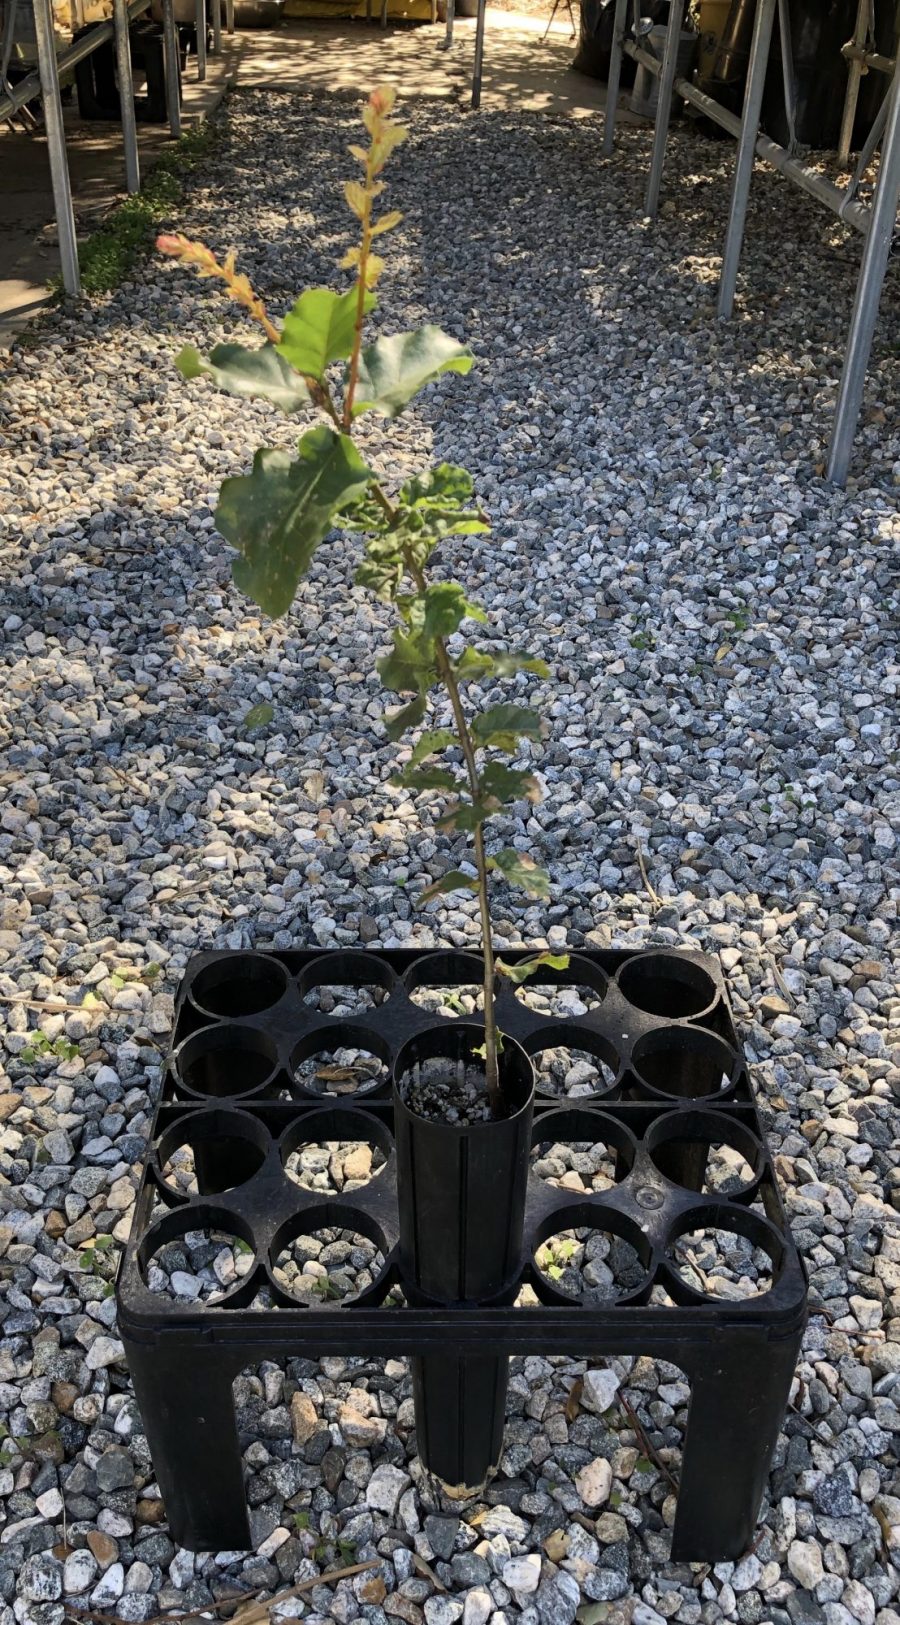
How to Plant and Care for a Coast Live Oak Seedling
- Site your seedling in full sun to part-shade, where it will have plenty of room to grow, away from plants that require a lot of supplemental water in the summer. In the wild, Coast Live Oaks can often be found growing in canyon bottoms and on north-facing exposures. The immediate area (at least 3’ in diameter) around your planting hole should be cleared of all weeds and non-native grasses.
- Your seedling was planted in a 16” forestry pot. The easiest way to dig the planting hole is to use a 4” diameter garden auger drill bit, which can be found online or at hardware stores. If you are using an auger, make sure that you drill the hole somewhat deeper than 16”. If your auger isn’t long enough, drill as close to 16” as you can and then finish digging with a garden trowel. (This will involve a little maneuvering to get your hand in and out of the planting hole, but it can be done.) If you are digging the planting hole without an auger, make it at least twice the diameter of the top of the forestry pot and approximately 1.5 times the depth.
- Fill the planting hole with water and allow to drain completely. If your soil is really dry, you can fill the planting hole a second time.
- Place some fill dirt in the bottom of the planting hole and lightly firm. Before unpotting, position the seedling in the planting hole to gauge the proper depth. The crown of the seedling (where it emerges from the top of the planting medium) should ultimately be above the surrounding soil line by about 1/2 to 3/4 of an inch when planted. Adjust accordingly, adding or removing fill dirt as necessary.
- It can be a little tricky removing the seedling from the forestry pot. Try squeezing the pot along its entire length first. Then, turn the pot upside down while gently grasping the base of the seedling with one hand and tap the bottom sharply. If it doesn’t slide out of the pot after a few tries, you can pull very gently on the seedling, as you continue to hit the bottom of the pot. (A third hand can be useful at this point.) Sometimes gently poking a finger into the drain hole at the bottom will do the trick. If all else fails, you can carefully cut the pot open with a box cutter or scissors. Make one or two incisions from the top to the bottom of the pot, taking care not to cut into the root ball.
- Handle the seedling with great care once it is out of the pot, cradling the entire length of the root ball, as its delicacy and narrow dimensions will likely not provide enough stability for it to hold its shape if handled roughly.
- If the root ball is solid enough to withstand it, “tickle” it with a twig or other narrow implement to carefully free the outer roots from the ball, which will encourage them to grow into the surrounding soil.
- While suspending the seedling at the proper height with one hand, begin to fill in around the root ball with fill dirt. When the hole is about half-full, gently tamp down the fill dirt to firm it around the root ball.
- Continue filling the planting hole, firming the soil gently as you go. Build a 12-24” inch diameter berm around the newly planted seedling with the excess fill dirt. The berm should be a few inches in height to facilitate deep watering.
- Fill the berm with water and let it drain completely two to three times.
- Your seedling will need weekly, deep watering during the dry season for its first year and monthly watering during its second year. “Deep watering” is defined as filling the berm and allowing it to soak in completely, 2-3 times. You want to encourage the baby oak’s tap root to follow the moisture below the bottom of the original planting hole. If winter rains don’t materialize, continue to water your seedling throughout the so-called “rainy season.” Try to anticipate your seedling’s moisture needs by monitoring the weather and watering deeply before an expected heat wave. Once the tree is roughly 8-10 feet in height, stop watering entirely in summer.
- Oaks like their roots to be on the cool side, so apply a layer of mulch. This will help to retain moisture, discourage weeds and regulate soil temperature. Keep the mulch a little away from the base of the seedling to prevent dampness there.
- Oak leaves are the best mulch for oaks, because they eventually break down and supply nutrients to the tree, but if you don’t have any in your garden from another tree, however, avoid importing any from somewhere else as you might introduce a potentially fatal pathogen. The tree will eventually supply its own mulch. (See “Oak Woke” for information about caring for mature oaks.)
- Keep weeds and non-native grasses under control in the vicinity of your baby oak. Do not apply any soil amendment or fertilizer.
- Wait 25-50 years to sit in the shade of your beautiful, mature oak.